
Sleep health education
How to Clean CPAP Equipment Safely
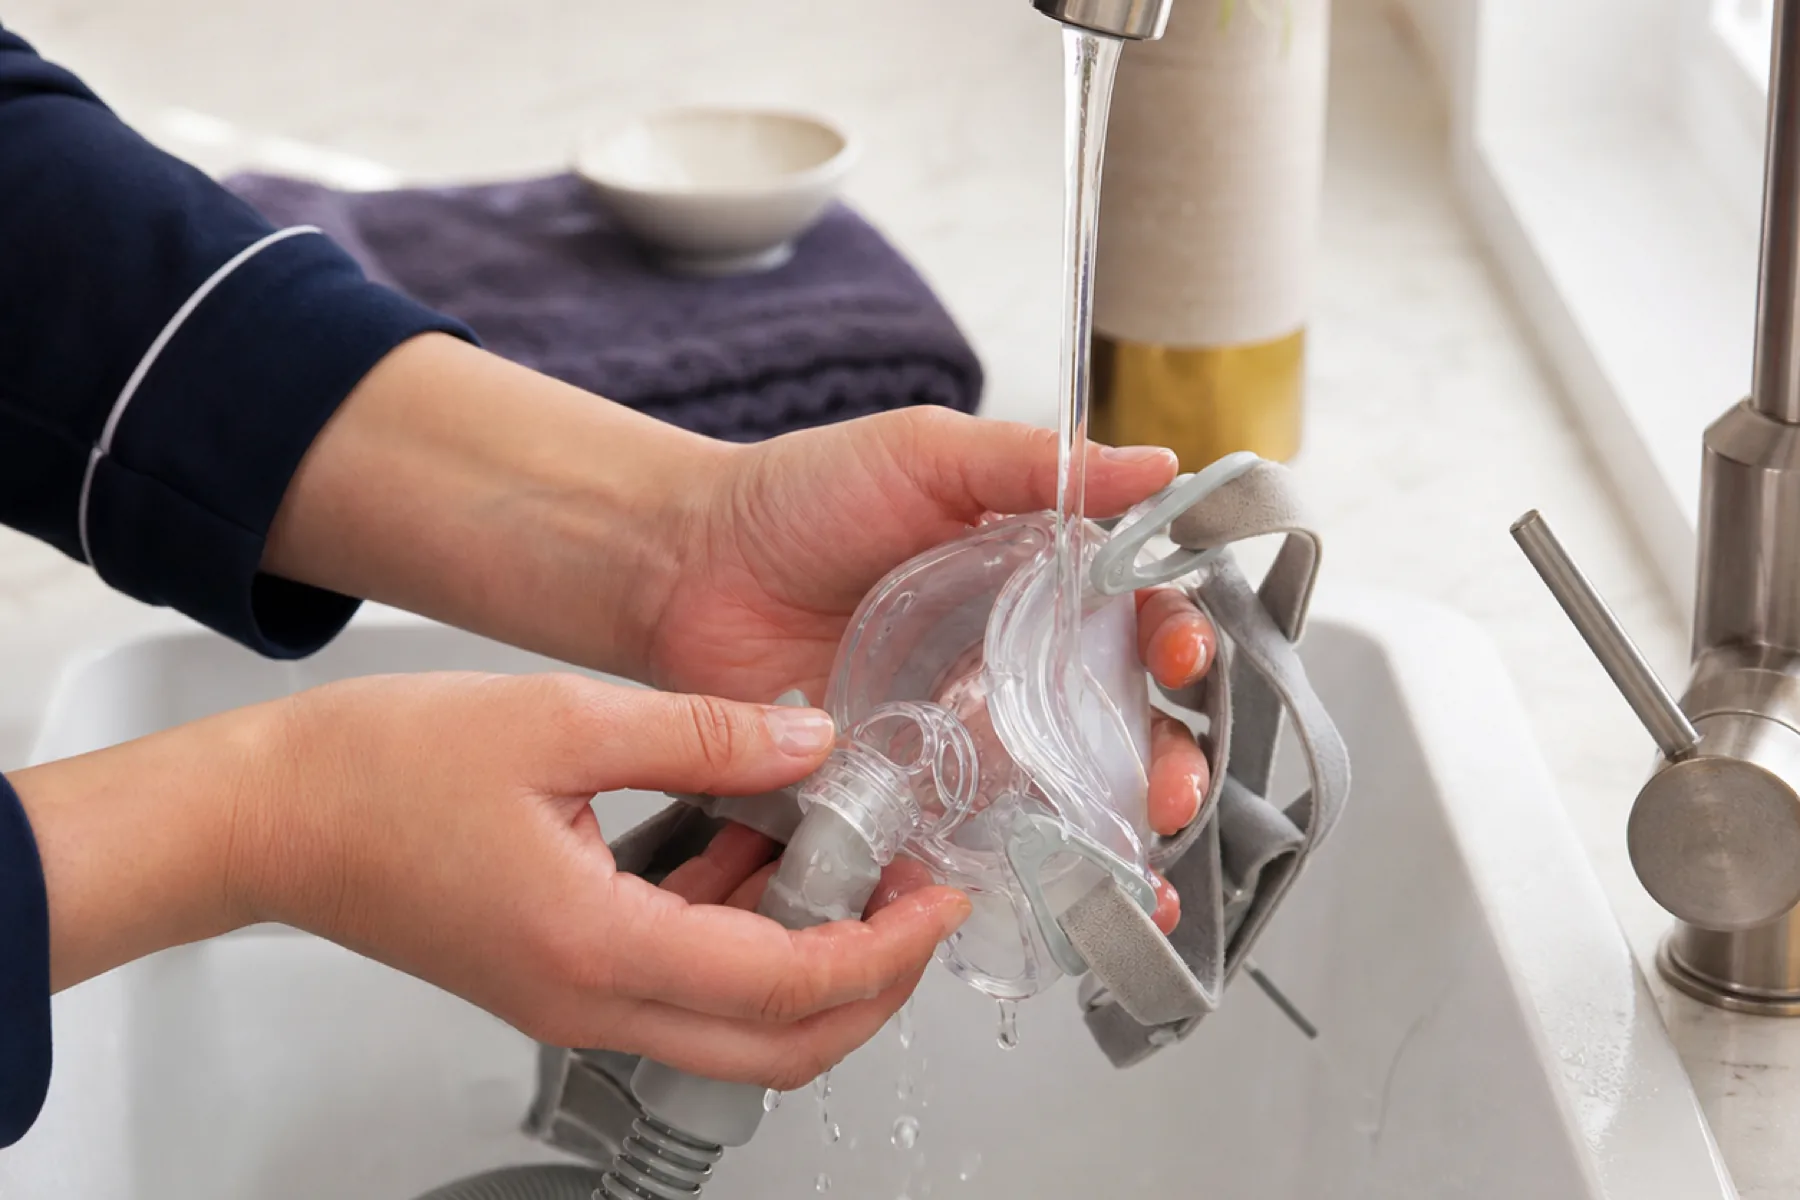
Quick answer: Clean CPAP equipment according to each manufacturer's instructions, usually with mild soap and water for removable masks, tubing and humidifier chambers. Rinse and air dry the parts, and follow the specified filter schedule. Never immerse the powered machine. Cleaning devices do not replace the manufacturer's recommended washing routine.
Sources: FDA
Expert perspective
Use the instructions for the exact component and replace parts that are cracked, stretched, discoloured or no longer sealing well. A consistent care routine protects both comfort and the reliability of the therapy system.
A simple CPAP care routine
Daily
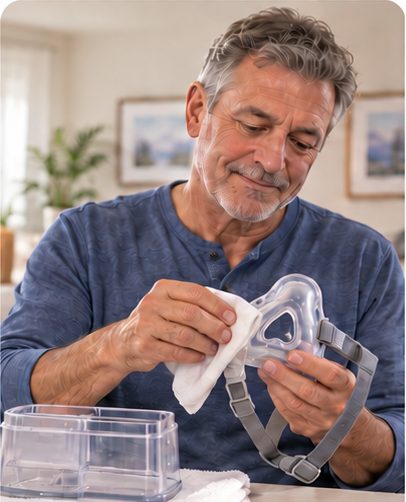
Empty humidifier water as directed and wipe the mask cushion.
Weekly
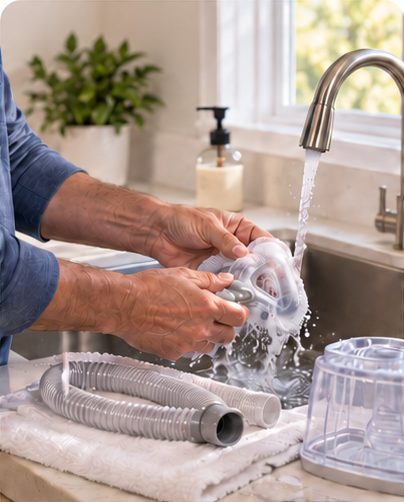
Wash the mask, tubing and water chamber with mild soap and water.
Air dry
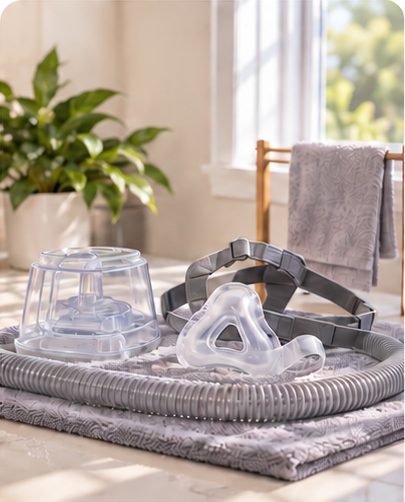
Let components air dry fully away from direct sunlight.
Replace as needed
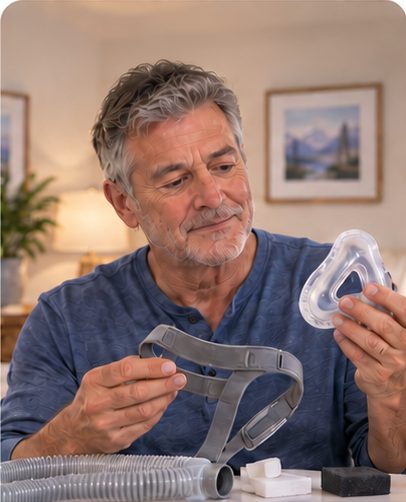
Inspect the cushion, headgear, tubing and filters for wear.
Follow the manufacturer’s instructions for your equipment.
Start with an equipment inventory
Before creating a routine, write down the machine, humidifier, heated or standard tubing, mask, cushion or pillows, headgear and filter types you use. Parts that look similar can have different care instructions. Keep the manuals or manufacturer care pages with your supplies, and note which components are washable, wipe-only or disposable.
If you cannot identify a part, use the model and part number rather than a photo alone. The CPAP Replacement Parts guide explains how to confirm compatibility before replacing a component.
A practical cleaning routine by component
- Mask cushion or nasal pillows | Facial oils and residue can affect the seal. Clean only by the method and frequency in the mask instructions; rinse well and air-dry away from direct sunlight.
- Mask frame and removable connector | Separate only the pieces the manual says to remove. Check that vents remain clear without inserting objects that could damage them.
- Headgear and fabric parts | Hand-wash or machine-wash only if permitted. Close hook-and-loop tabs when directed and let fabric dry fully before use.
- Standard or heated tubing | Disconnect with dry hands and handle electrical contacts carefully. Wash only when and how the tubing instructions allow, then hang or position it so water can drain and the inside can dry.
- Humidifier chamber | Empty remaining water as directed, wash or descale only with approved methods, and inspect the chamber and seal for clouding, cracks or leaks.
- Reusable filter | Wash only if the machine manual identifies it as reusable and gives a method. Reinstall only when completely dry.
- Disposable filter | Do not wash. Replace it according to the machine instructions or sooner if the permitted inspection criteria indicate it.
- CPAP machine exterior | Unplug the machine and wipe only as directed. Never immerse it, spray liquid into an opening or allow water near the power supply.
Set a schedule from the manuals
There is no single evidence-based daily, weekly and monthly calendar that applies to every CPAP product. Build your routine from each manufacturer's instructions and the conditions in which you use the equipment. Illness, visible residue, pets, smoke, dust, hard-water mineral buildup or travel may change what needs attention, but they do not justify an unapproved method.
A simple checklist can help: record the component, approved method, recommended frequency, last cleaning date, inspection finding and next action. Insurance replacement limits are payment rules; they are not proof that a part is safe or effective until a specific date.
Wash, rinse, dry and reassemble carefully
Use clean hands and a clean preparation area. Where the instructions permit soap and water, use the specified water temperature and a mild product without unapproved moisturizers, fragrances, bleach or harsh additives. Rinse until residue is gone. Air-dry parts completely away from direct heat and sunlight unless the manual says otherwise.
Reassemble only when parts and connections are dry. Check that seals sit correctly, the chamber is closed, tubing is secure and the mask vent is unobstructed. A new leak or unusual noise after cleaning may come from incomplete assembly, trapped moisture or a part that was stretched or damaged.
Cleaning is not the same as disinfection or sterilization
Routine home cleaning, disinfection and sterilization are different processes. Do not use a healthcare-facility reprocessing method, boil a component or improvise a disinfectant concentration unless the product instructions explicitly authorize that process for home use. Equipment shared between users requires a provider- and manufacturer-directed reprocessing pathway; ordinary home cleaning is not enough to make sharing appropriate.
Avoid ozone, ultraviolet light and unapproved chemicals
The U.S. Food and Drug Administration warns that ozone gas and ultraviolet-light products marketed for CPAP cleaning are not replacements for manufacturer-recommended cleaning. Ozone exposure can present respiratory risks, and ozone or UV methods may damage CPAP components. A device described as “waterless,” “automatic” or “sanitizing” still needs to be permitted by the manufacturer of every part it touches.
Do not use bleach, household disinfectant sprays, essential oils, scented wipes, alcohol or other chemicals unless the exact component instructions allow them. Residue, fumes and material damage can create new problems rather than solve a hygiene concern.
When cleaning is enough—and when replacement is safer
Cleaning may remove oils, dust, moisture or mineral residue from a reusable part. Replace or seek advice about a component that is cracked, torn, punctured, warped, permanently cloudy, sticky, stretched, leaking, no longer sealing, missing a safety feature or showing damaged electrical contacts. Do not tape punctured tubing, seal a cracked water chamber or wash a disposable filter to extend its use.
Replacement timing varies by product, wear, care, environment, manufacturer guidance and coverage. The CPAP Cleaning Supplies guide can help you evaluate a product without assuming it is compatible or necessary.
Cleaning during illness and after travel
Follow your equipment instructions and healthcare advice if you are ill. Do not add unapproved disinfectants or share equipment. After travel, inspect the machine, power supply, mask, tubing and chamber for damage or contamination before use. Keep clean and used parts separated in transit, empty the chamber before moving the machine, and allow enough time for washed components to dry.
Troubleshoot a problem after cleaning
If therapy feels different immediately after care, retrace the process before changing pressure or comfort settings. Confirm that every connection is secure, the chamber seal is seated, the filter is the correct type and orientation, the mask vent is open, and the cushion or tubing was not damaged. Persistent leaks, odours, irritation, machine warnings or water near electrical components require support.
For help separating cleaning, fit and equipment issues, visit CPAP Support. For seal problems, use the CPAP Mask Leaks guide.
Before reconnecting the equipment
Use a short final check before the next sleep period:
If the equipment behaves differently after cleaning, stop and retrace assembly rather than changing prescribed pressure. People who are still learning the system can pair this routine with Getting Started With CPAP: Your First 30 Days.
- confirm every washed part is completely dry;
- check that the correct filter is dry, oriented properly and approved for reuse;
- seat the humidifier chamber and seals without forcing them;
- reconnect tubing without moisture near electrical contacts;
- confirm the mask vent is open and unobstructed; and
- run the system briefly and listen for a new leak or unusual noise.
Medical disclaimer
This information is educational and does not replace the instructions for your equipment, infection-control advice, assessment, prescription or individualized guidance from a licensed healthcare professional.
Choose your next step
Complete guide: CPAP Therapy: A Complete Guide for Canadians